https://kerentamir.blogspot.com.au/https://kerentamir.blogspot.com.au/p/publications.htmlhttps://kerentamir.blogspot.com.au/p/past-design-teams.htmlhttps://kerentamir.blogspot.com.au/search/label/videotutorialhttps://kerentamir.blogspot.com.au/p/upcoming-classes.htmlhttps://kerentamir.blogspot.com.au/p/online-workshops.htmlwww.kerentamir.com

Friday, June 30, 2017

Mixed Media Tree- with Rust Paste and Plaster


I had an amazing time participating as a guest designer in Nathalie Kalbach's "Stroll Through Hood" challenge to celebrate the release of her new book Artful Adventures in Mixed Media.

Below is the video tutorial that now I'm able to release to the public after the challenge is done!

My prompt was Ground and as a guest designer I took a picture representing that prompt and made a project based on the picture. You can find it here below:
Isn't it beautiful. I just love this shot of the ground as if its alive!!!


When I took the picture of the ground for the challenge, I loved seeing everything around it., The intertwined roots, shrubs, leaves and dirt forming a beautiful organism around the tree, This lead me to imagine a beautiful textured tree with its roots sticking out of the ground. I imagined a tree waiting for spring, without any sprouted leaves. I loved creating this tree and using materials that made it look three dimensional. Looking at the earth around the roots and feeling how grounded it all looked, helped me come up with the perfect quote: "I am rooted to the ground”. This quote is very meaningful to me as I like feeling grounded just like the tree. I love feeling the earth protecting me. I truly love trees and I felt this prompt was perfect for how I felt!!


Here is the video tutorial below:


Here are some close-ups


To see my video tutorial and to sign up for this free class press HERE


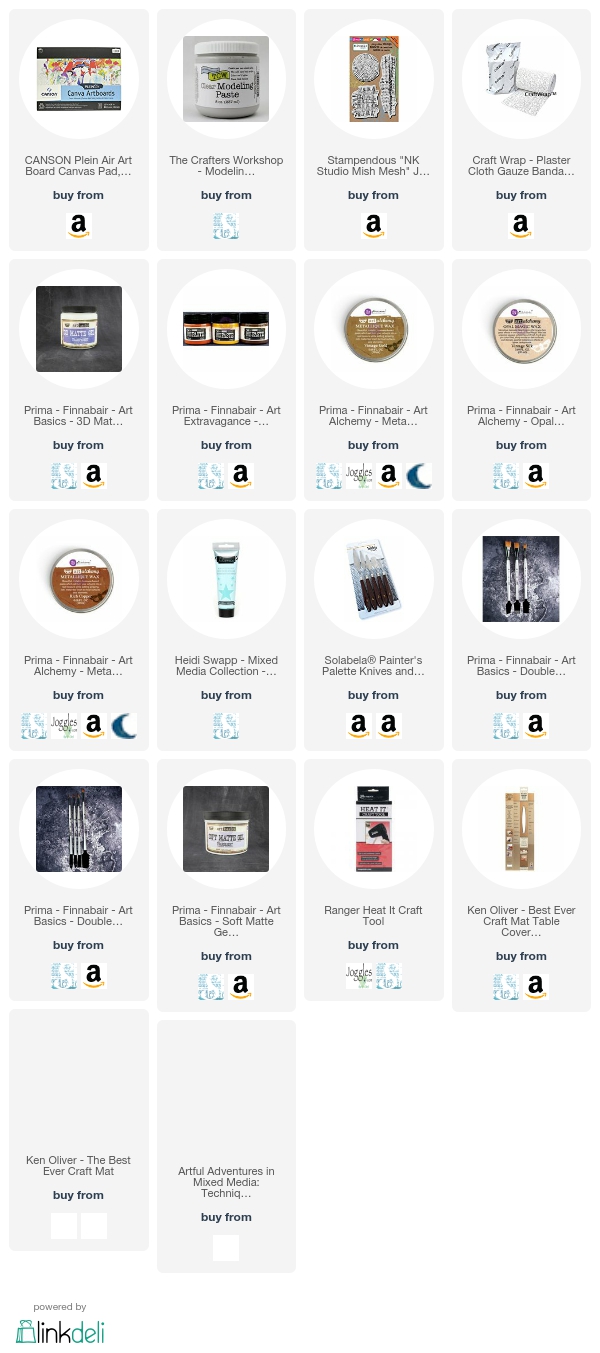
Below are links to all the products I used.

These are affiliate links and I only use products that I love. By pressing these links when you want to purchase these products helps me create more FREE videos. You don’t need to purchase the products but if you do, then pressing on the links will support me, at no extra cost to you. You can read my disclaimer on my blog’s side panel.


You can pre-order Nathalie's book Artful Adventures by pressing the link.


Thank you so much for visiting my blog
Have a wonderful creative day!!

Wednesday, June 28, 2017

Anemone Art Journal- with Donna Downey, Jane Davenport, Finnabair and Tim Holtz products


Hi everyone,
today I want to share my art journal created live on the Artists Live Ustream channel on June 26th.
It has a lot of texture and color that i designed using a variety of products from different Manufacturers.
I used Donna Downey Anemone's stencil for the design, Jane Davenport's Mermaid markers for the color,  Prima Finnabair Graphite textured paste for the texture and Tim Holtz tissue paper and etcetera stamps for the distressed background.
Scroll down for the video recording:
Don't want to miss any live shows? 
like Artists Live on Facebook where we announce all the upcoming shows!!


Here is the video recording of the class:


Here are some close-ups


Below are links to all the products I used.

Some are affiliate links and I only use products that I love. By pressing on these links, when you want to purchase these products, it helps me create more FREE videos. You don’t need to purchase the products if you don't want to but if you do, then pressing on the links will support me at no extra cost to you. You can read my disclaimer on my blog’s side panel.


Thank you so much for visiting my blog
have a wonderful day!!

Tuesday, June 27, 2017

She is Beautiful- Scrapbooking Layout for 49 and Market


Hi Everyone,
Here is the second layout I created for the 49 and Market blog this month.
I used their new 3D embellishments to decorate around the photo.
These embellishments make it so easy to create a layout. It only took me about 1 hour from start to finish. 
Watch below for a full video tutorial. All products and links are at the end of this post.


Here is the video tutorial below:


Here are some close-ups of the layout as well:


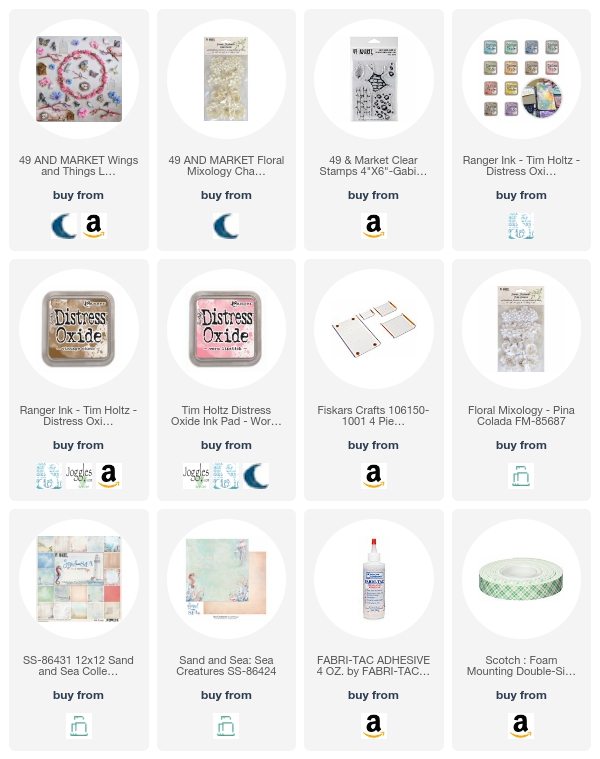
Below are links to all the products I used.

Some are affiliate links and I only use products that I love. By pressing on these links, when you want to purchase these products, it helps me create more FREE videos. You don’t need to purchase the products if you don't want to but if you do, then pressing on the links will support me at no extra cost to you. You can read my disclaimer on my blog’s side panel.


Thank you so much for visiting my blog
Have a wonderful day!

Sunday, June 25, 2017

Concord and 9th Hello Cards with Bubble Background Technique--Video Tutorial


Hi everyone,
I'm back again with another card background tutorial.
I love making fun backgrounds for cards and layouts and this bubble making technique was so much fun I could't stop making cards.
I used the Concord & 9th Say Hello Stamp for the sentiment.
You can scroll down to see the video tutorial below!!


Here is the video tutorial below:


Here are the paired up cards below
I tried to match colors between two cards so the die-cuts would match as well:


Below are links to all the products I used.
Some are affiliate links and I only use products that I love. By pressing on these links, when you want to purchase these products, it helps me create more FREE videos. You don’t need to purchase the products if you don't want to but if you do, then pressing on the links will support me at no extra cost to you. You can read my disclaimer on my blog’s side panel.


thank you so much for visiting my blog
Have  a wonderful day!!

Saturday, June 24, 2017

Love You- Scrapbooking Layout for 49 and Market


Hi everyone,
I'm up again on the 49 and Market Blog with a new layout using some of their new releases.
For the background I used a paper from the Sand and Sea collection. This collection has beautifully drawn sea creatures on one of the page and a plainer design on the other side. I used the woodgrain side for this paper and used lots of embellishments to surround the photo.


Below is the video tutorial for this layout:


and here are some close-ups:


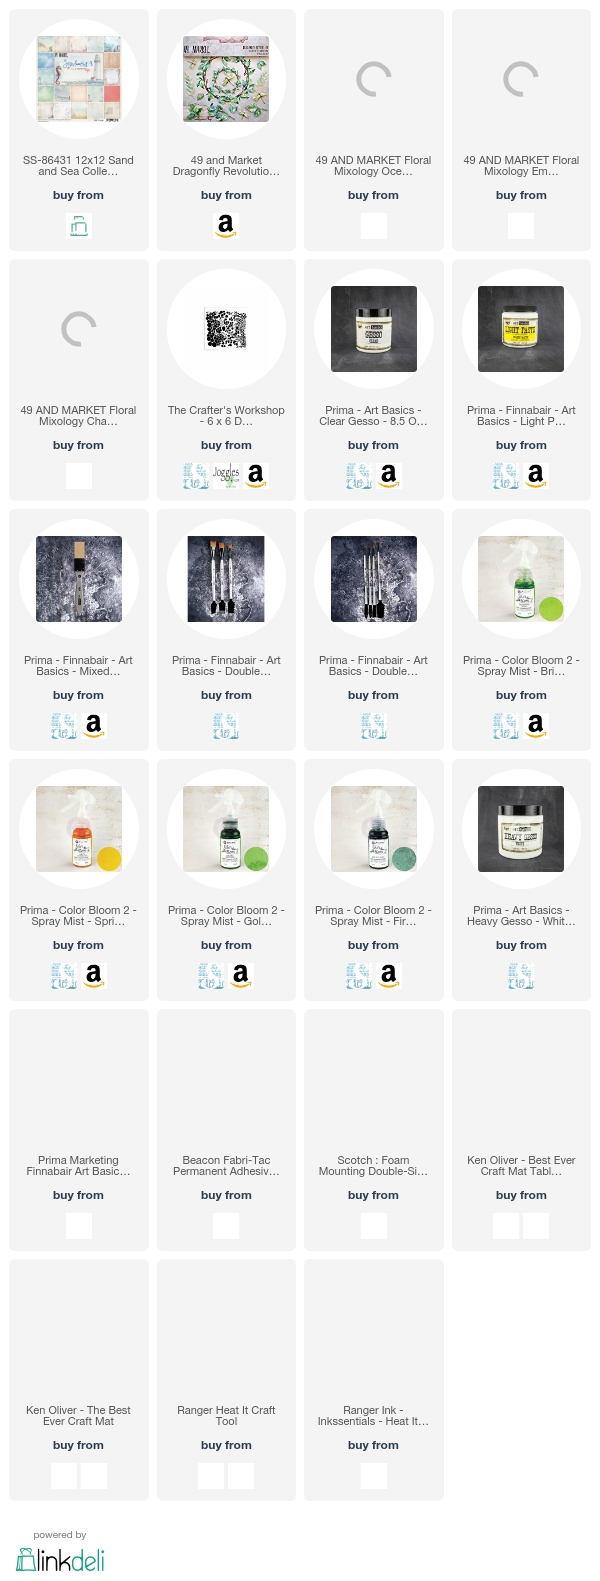
Below are links to all the products I used.

Some are affiliate links and I only use products that I love. By pressing on these links, when you want to purchase these products, it helps me create more FREE videos. You don’t need to purchase the products if you don't want to but if you do, then pressing on the links will support me at no extra cost to you. You can read my disclaimer on my blog’s side panel.


Thank you so much for visiting my blog
have a wonderful day!!