https://kerentamir.blogspot.com.au/https://kerentamir.blogspot.com.au/p/publications.htmlhttps://kerentamir.blogspot.com.au/p/past-design-teams.htmlhttps://kerentamir.blogspot.com.au/search/label/videotutorialhttps://kerentamir.blogspot.com.au/p/upcoming-classes.htmlhttps://kerentamir.blogspot.com.au/p/online-workshops.htmlwww.kerentamir.com
Showing posts with label Tutorial. Show all posts

Wednesday, April 12, 2017

Mixed Media ATC's with 7 Dots Studio Cotton Cand Dreams Collection-- Video Tutorial


I created a set of 6 ATC’s for 7 Dots Studio using the Cotton Candy Dreams collection.  
I added layers of texture in the background using inks, gel, stencils and  stamps. The focal point on each card was created with the chipboard pieces from the same collection. The stalks for the dandelions were created with the poppy stencil from the Homegrown collection.


Watch the video below to see how I created these Artist Trading Cards.


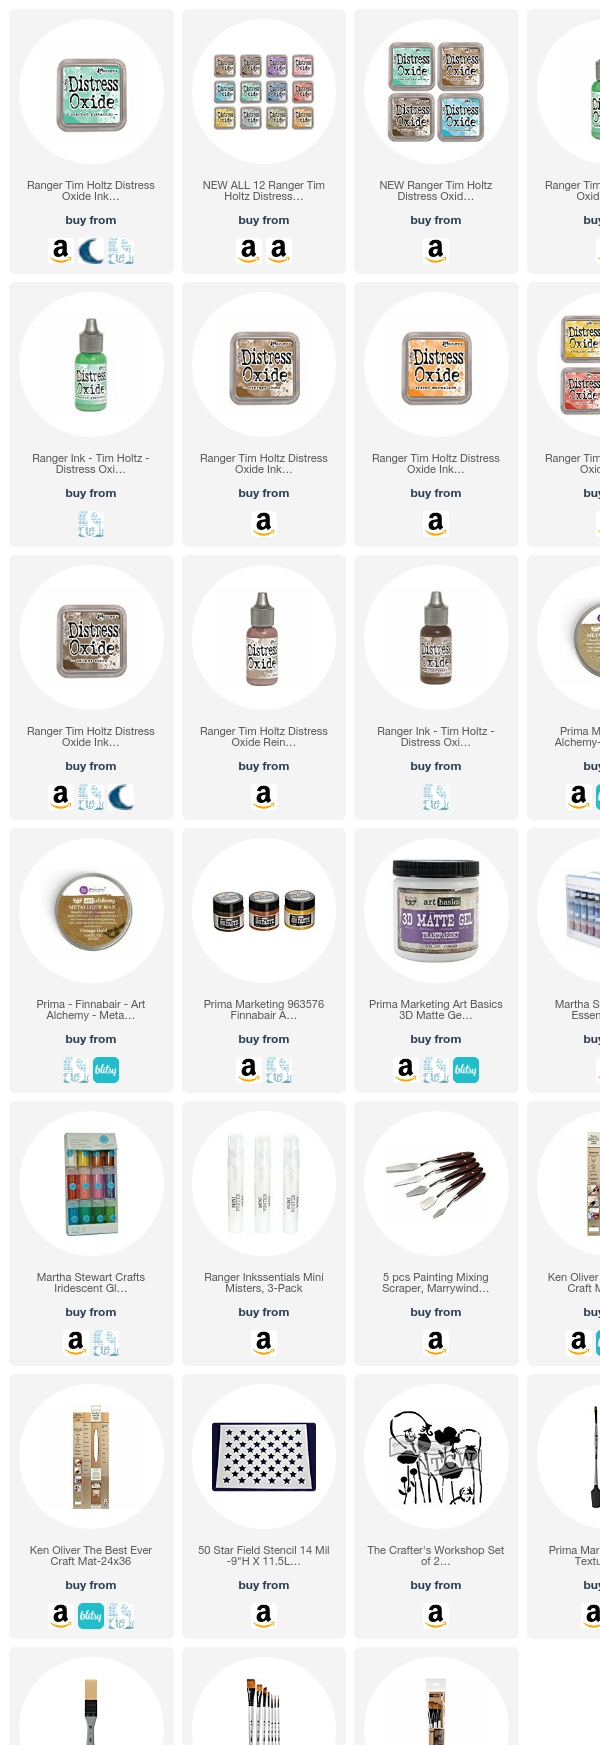
Below are links to all the products I used.
These are affiliate links (at no extra cost to you). You can read my disclaimer on my blog's side panel.


Monday, August 11, 2014

Joy- Prima's Epiphany Collection- with Step by Step Tutorial


I'm excited to show you a new layout that I created using the new Epiphany collection from Prima. This is one of my favourite collections from this release so look below for a step by step tutorial.


I love the new Epiphany collection as I really love birds and butterflies. I created this step by step layout using a picture of my daughter watching some ducks by the pond. I added lots of textural background using some Finnabair Light Translucent paste, a 6x6 stone stencil, an Epiphany stamp and some Color Bloom sprays. Then I layered some Epiphany note cards and ATC cards behind the photo for extra interest.


The glass beads were added for texture. They also belong to the new Finnabair collection released this summer.


Step 1: Use the Epiphany clear as day paper for the background


Step 2: Create a textured background on the paper using one of the new 6x6 Stone stencils and Finnabair's Light Translucent paste


Step 3: Spray the textured area with Color bloom sprays: I used Tea Stain, Gold Foil and Gilded


Step 4: Stamp the background with the script Epiphany stamp


Step 5: Add layers using note cards, ATC cards, a doily, some 3D stickers and some new Prima trim


Step 6: Add matching flowers and glue some Finnabair Glass beads around the page


Step 7: Add some embellishments and splatter some Color Bloom Glistening waves spray across the page. 


Prima Products
846855- Epiphany- clear as day
575724- Epiphany- 4x6 Journaling note cards
575687- Epiphany- 3x4 ATC pad
576257- Epiphany 3D stickers
575830- Epiphany stamp
961435- Finnabair Art Basics Light Translucent paste
891817- Ingvild Bolme Junkayard Findings vintage door knobs
891992- Ingvild Bolme Shabby Chic treasures- butterflies
573805- Color Bloom- Gold Foil
573836- Color Bloom- Tea Stain
573942- Color Bloom- Glistening waves
573911- Color Bloom- Gilded
961718- Finnabair Art Ingredients glass beads- plum
575939- 6x6 Stencil- Stone 1
572785- Metal die-cut- doily 

other products
Ranger Black archival ink

Hope you have a joyous day!!
xo

Monday, April 28, 2014

Metal Brooch- Prima Marketing Mother's day ideas


As Mother's Day approaches we will be showcasing some gift ideas on the Prima blog during the next few weeks.


This simple brooch was created in less than 20 minutes. 
Here are the close-ups:


I glued some junkyard finding pieces together and connected some Finnabair mechanicals to hang loose at the bottom. 


I also glued Vintage Trinket metal pin in the back so it can be pinned onto a jacket or blouse.
Finally I glued a single gold flower and some leaves.


Products:
960377- Sunrise Sunset Vintage Trinkets
961114- Finnabair Mechanicals
892289- Junkyard findings steampunk air
892258- Junkyard findings office metals
571931- Florella
547417- Precious metals gold flowers
960292- Sunrise Sunset Vintage trinket pins

So what do you think? Would you wear this brooch? I would!! its the perfect vintage accent for a nice blazer or fall jacket.

thanks so much for visiting my blog
Have a wonderful day!

Saturday, April 19, 2014

The Book Of Gratitude #1- Blue Fern Studios DT


This month I created two Blue Fern Studio projects that are very near and dear to my heart. I created them for two very special people in my life. Both these people asked me to create Gratitude Journals for them and I thought it would be great to include some Blue Fern Studio Chipboard on the front cover.

Here is the first journal I created. Come back in a few days to see the other one.


I bought this hard cover journal at the dollar store. Then, using some of the Blue Fern Garden papers I covered both front and back. To blend the paper seam to the cover's background I used light moulding paste and a brick stencil.


I used the tree from the Descanso Garden Set, a little bird and one of the Veranda cages. I have a tutorial below describing how I created the tree. The bird was painted in silks glaze paint and the bird cage in brown fluid chalk ink.


Here is a little tutorial on how I created the chipboard tree:


Materials:
Papers: Blue Fern Garden
Journal: Dollar Store
Chipboard: Blue Fern Studios
Flowers: Prima
Brick Stencil: The Crafters Workshop
Tim Holtz Distress inks
Ranger crackle accents gel


I've said this before but would like to say it again. I'm so very grateful to all of you coming to visit my blog!! 
Thank you so much from the bottom of my heart!!


Friday, April 11, 2014

Your Path- Time Traveler Collection by Prima- Step by Step


Prima has a brand new collection called Time Traveler.
Its a beautiful vintage collection with earthy tones.

Here is a layout I made with a step by step tutorial on how I created it. 


This is one of my favourite photos of my son. He's walking down an old railroad track. I love the new Time Traveler collection as its perfect for pictures with a vintage twist. I hope my son always walks the path of happiness, love, peace and kindness


Step by Step

Step 1
Choose a background paper: I chose Time Traveler Forever Roses


Step 2&3 
Use some light molding paste over one of the new Prima stencil to create lines up and down the page. Let them dry.


Step 4
 Spray the stencilled area with two Vintage Metal Color Bloom sprays: Worn Leather and Gold Foil. Let them dray


Step 5
 Stamp with the Honey comb patterned stamp randomly around the sprayed area.


Step 6
 Add different fussy cut paper layers around the photo.


Step 7
 Add flowers and embellishments


Tip
you can use the Color Bloom sprays to colour your Prima resins and metals. In this layout I painted the resin clock and the Junkyard Findings street sign in Gold foil, using a thin brush.


Products
813871- Time Traveler Love Affair
813864- Time Traveler Forever Roses
813918-  Time Traveler Tickets only
574574-  Cartographer Drafter
574550-  Cartographer Vagabond
892166- Ingvild Bolme junkyard findings Street Signs
574710-  Adelynn Ageles
569969- Resin clocks
573829- Color Bloom Vintage Metal worn leather
573805- Color Bloom Vintage Metal Gold foil
574857- Briella Bella
572174- Stencil
813932- Time Traveler 6x6 paper pad
890995-  Chalk edger black coal
960810- Honey Comb clear stamp

Isn't this collection gorgeous?
I hope you have a wonderful day!